Installation Instructions
Surface Preparation: Prior to decal installation all surfaces must be cleaned and free of foreign material. For glass & hardened plastics – Clean surface with a window cleaner. For metals – Clean surface with a solvent such as naphtha or lacquer thinner. Dry the surface with a lint free cloth before the solvent evaporates. Allow freshly painted surfaces 3 weeks of cure time to off-gas before applying vinyl.
Installation Temperature: Ensure that the surface and air temperature is above 10° Celsius. Humidity above 90% may also prevent decals from adhering properly.
Materials Required: Decal, squeegee, masking tape, knife or scissors, optional fluid (light soapy water) for large decals, tape measure.
Your decal will come in 3 layers:
1. transfer tape
2. vinyl decal
3. wax backing paper
Installation Instructions:
1) Clean and prepare the surface as described above. Ensure that your decal fits the area by holding your decal against the surface. If necessary, use a tape measure to ensure the decal is where you would like it.
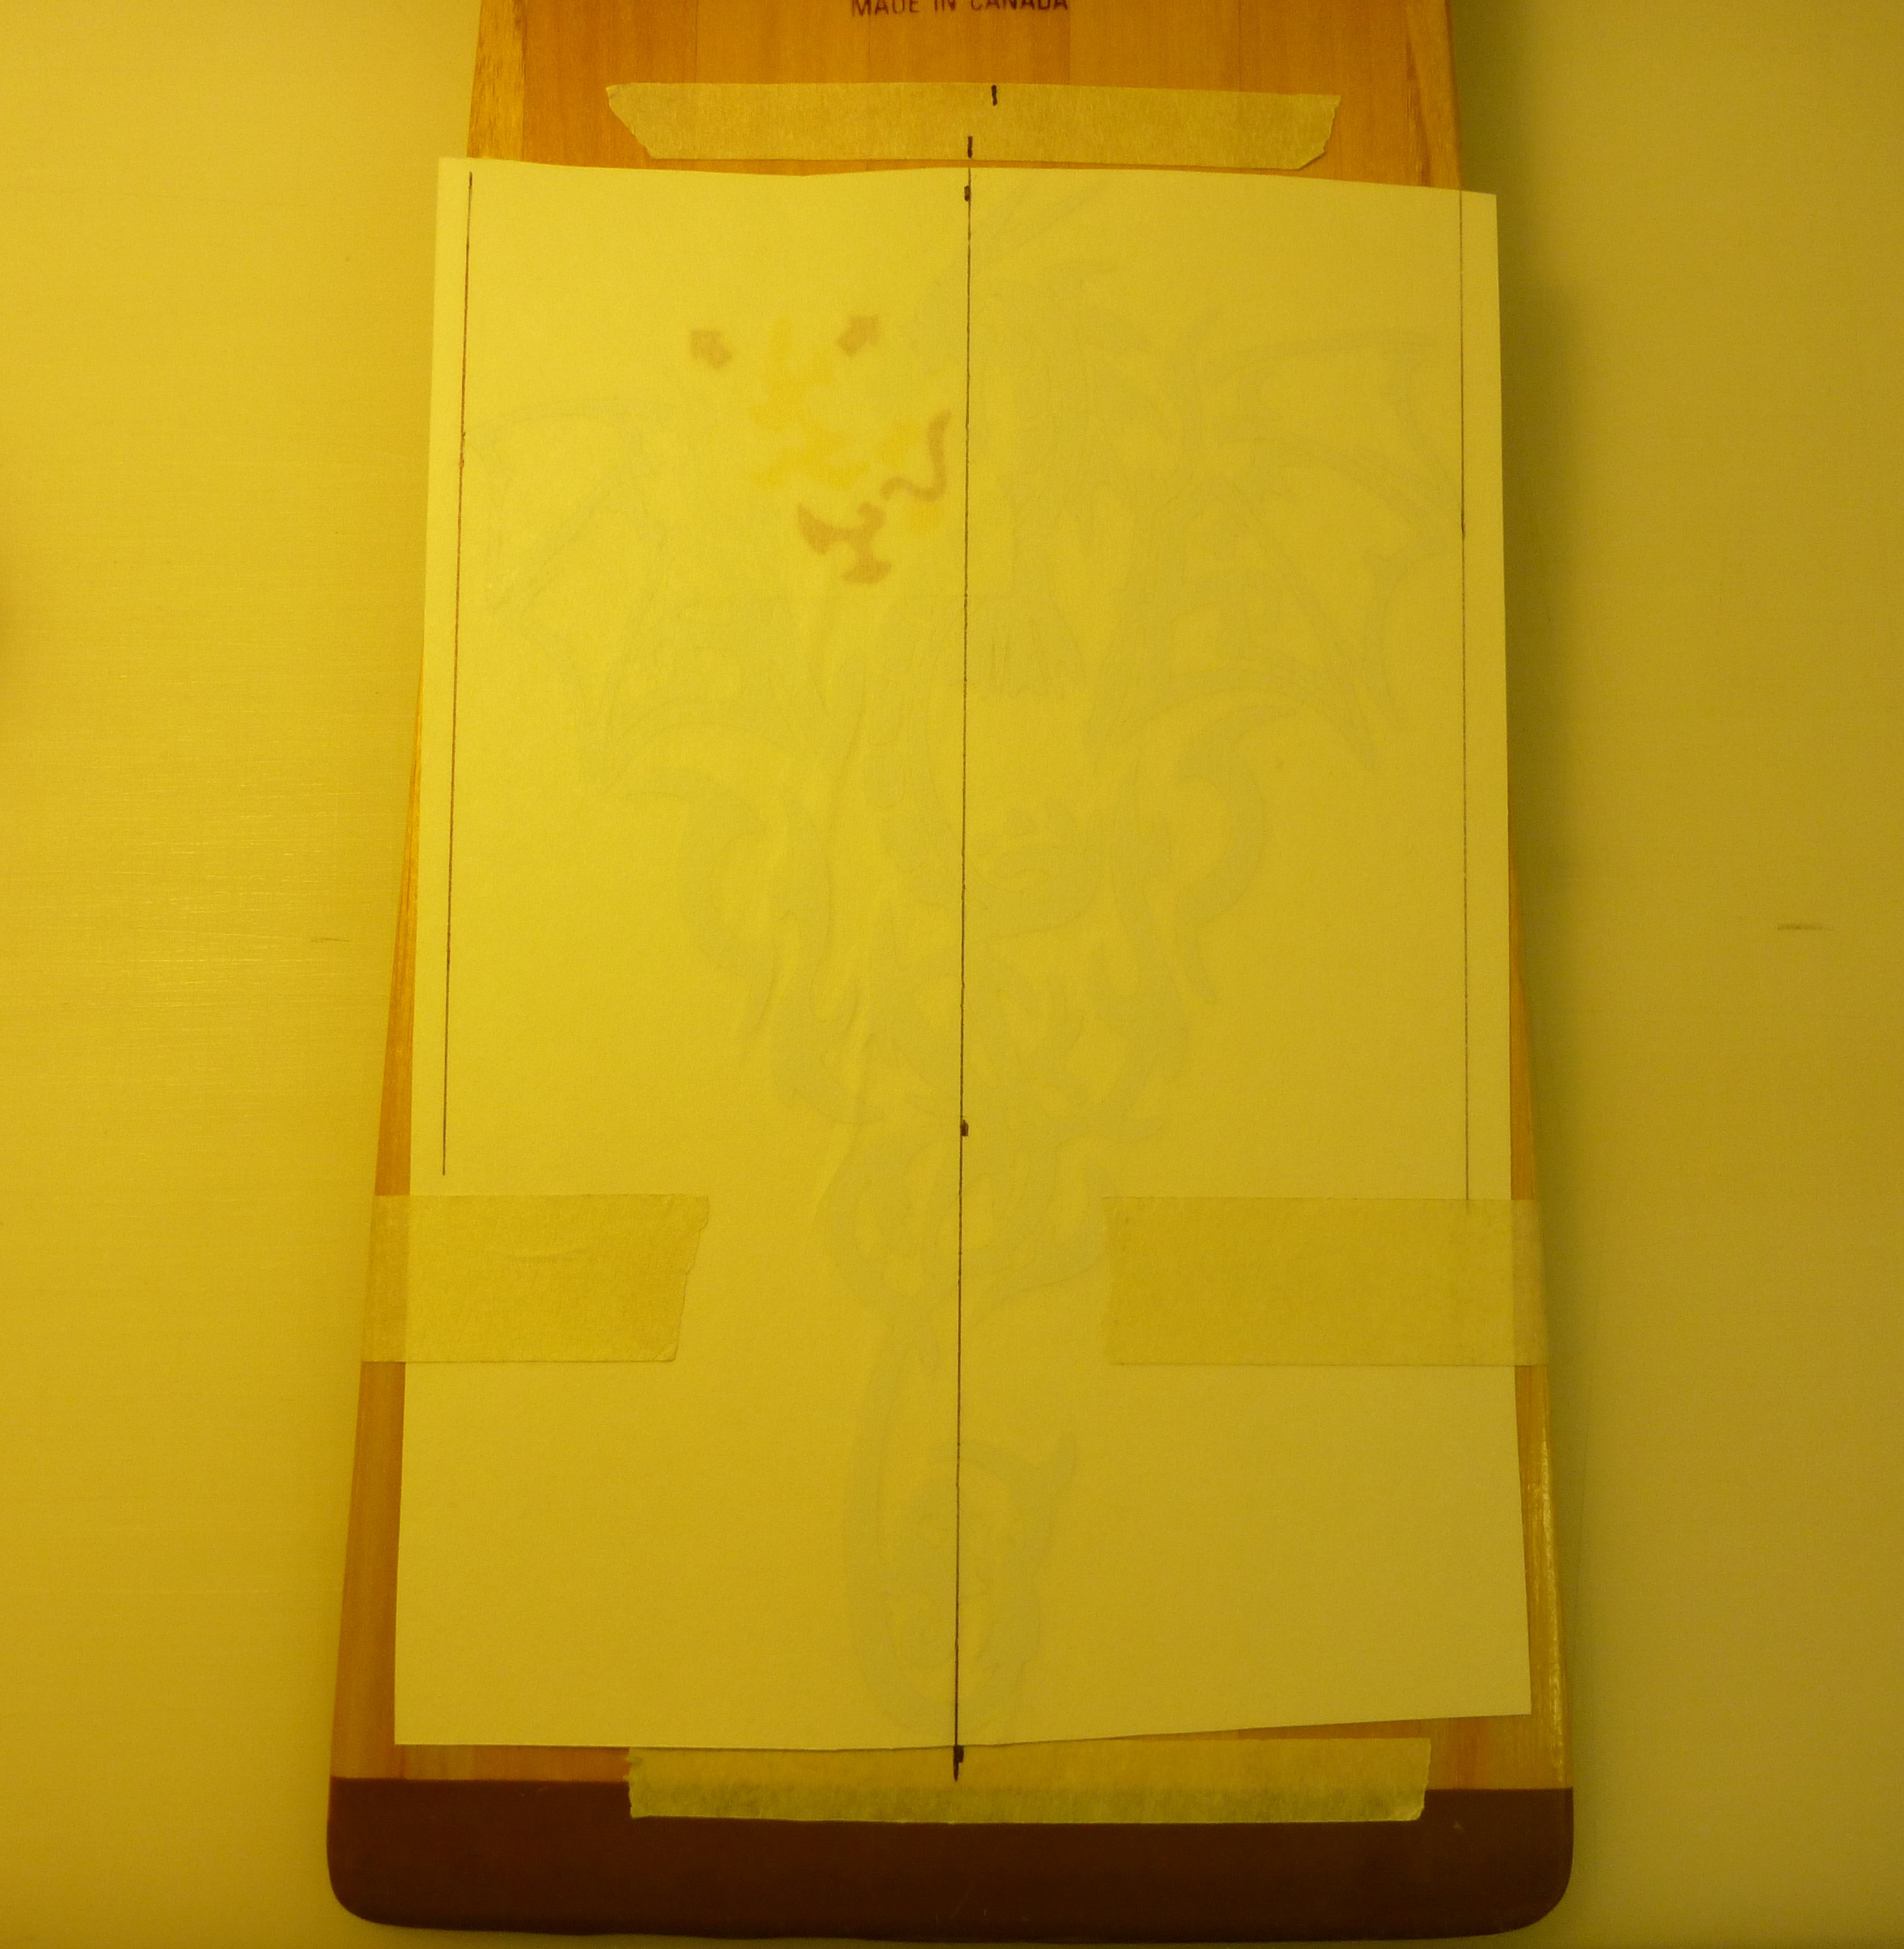
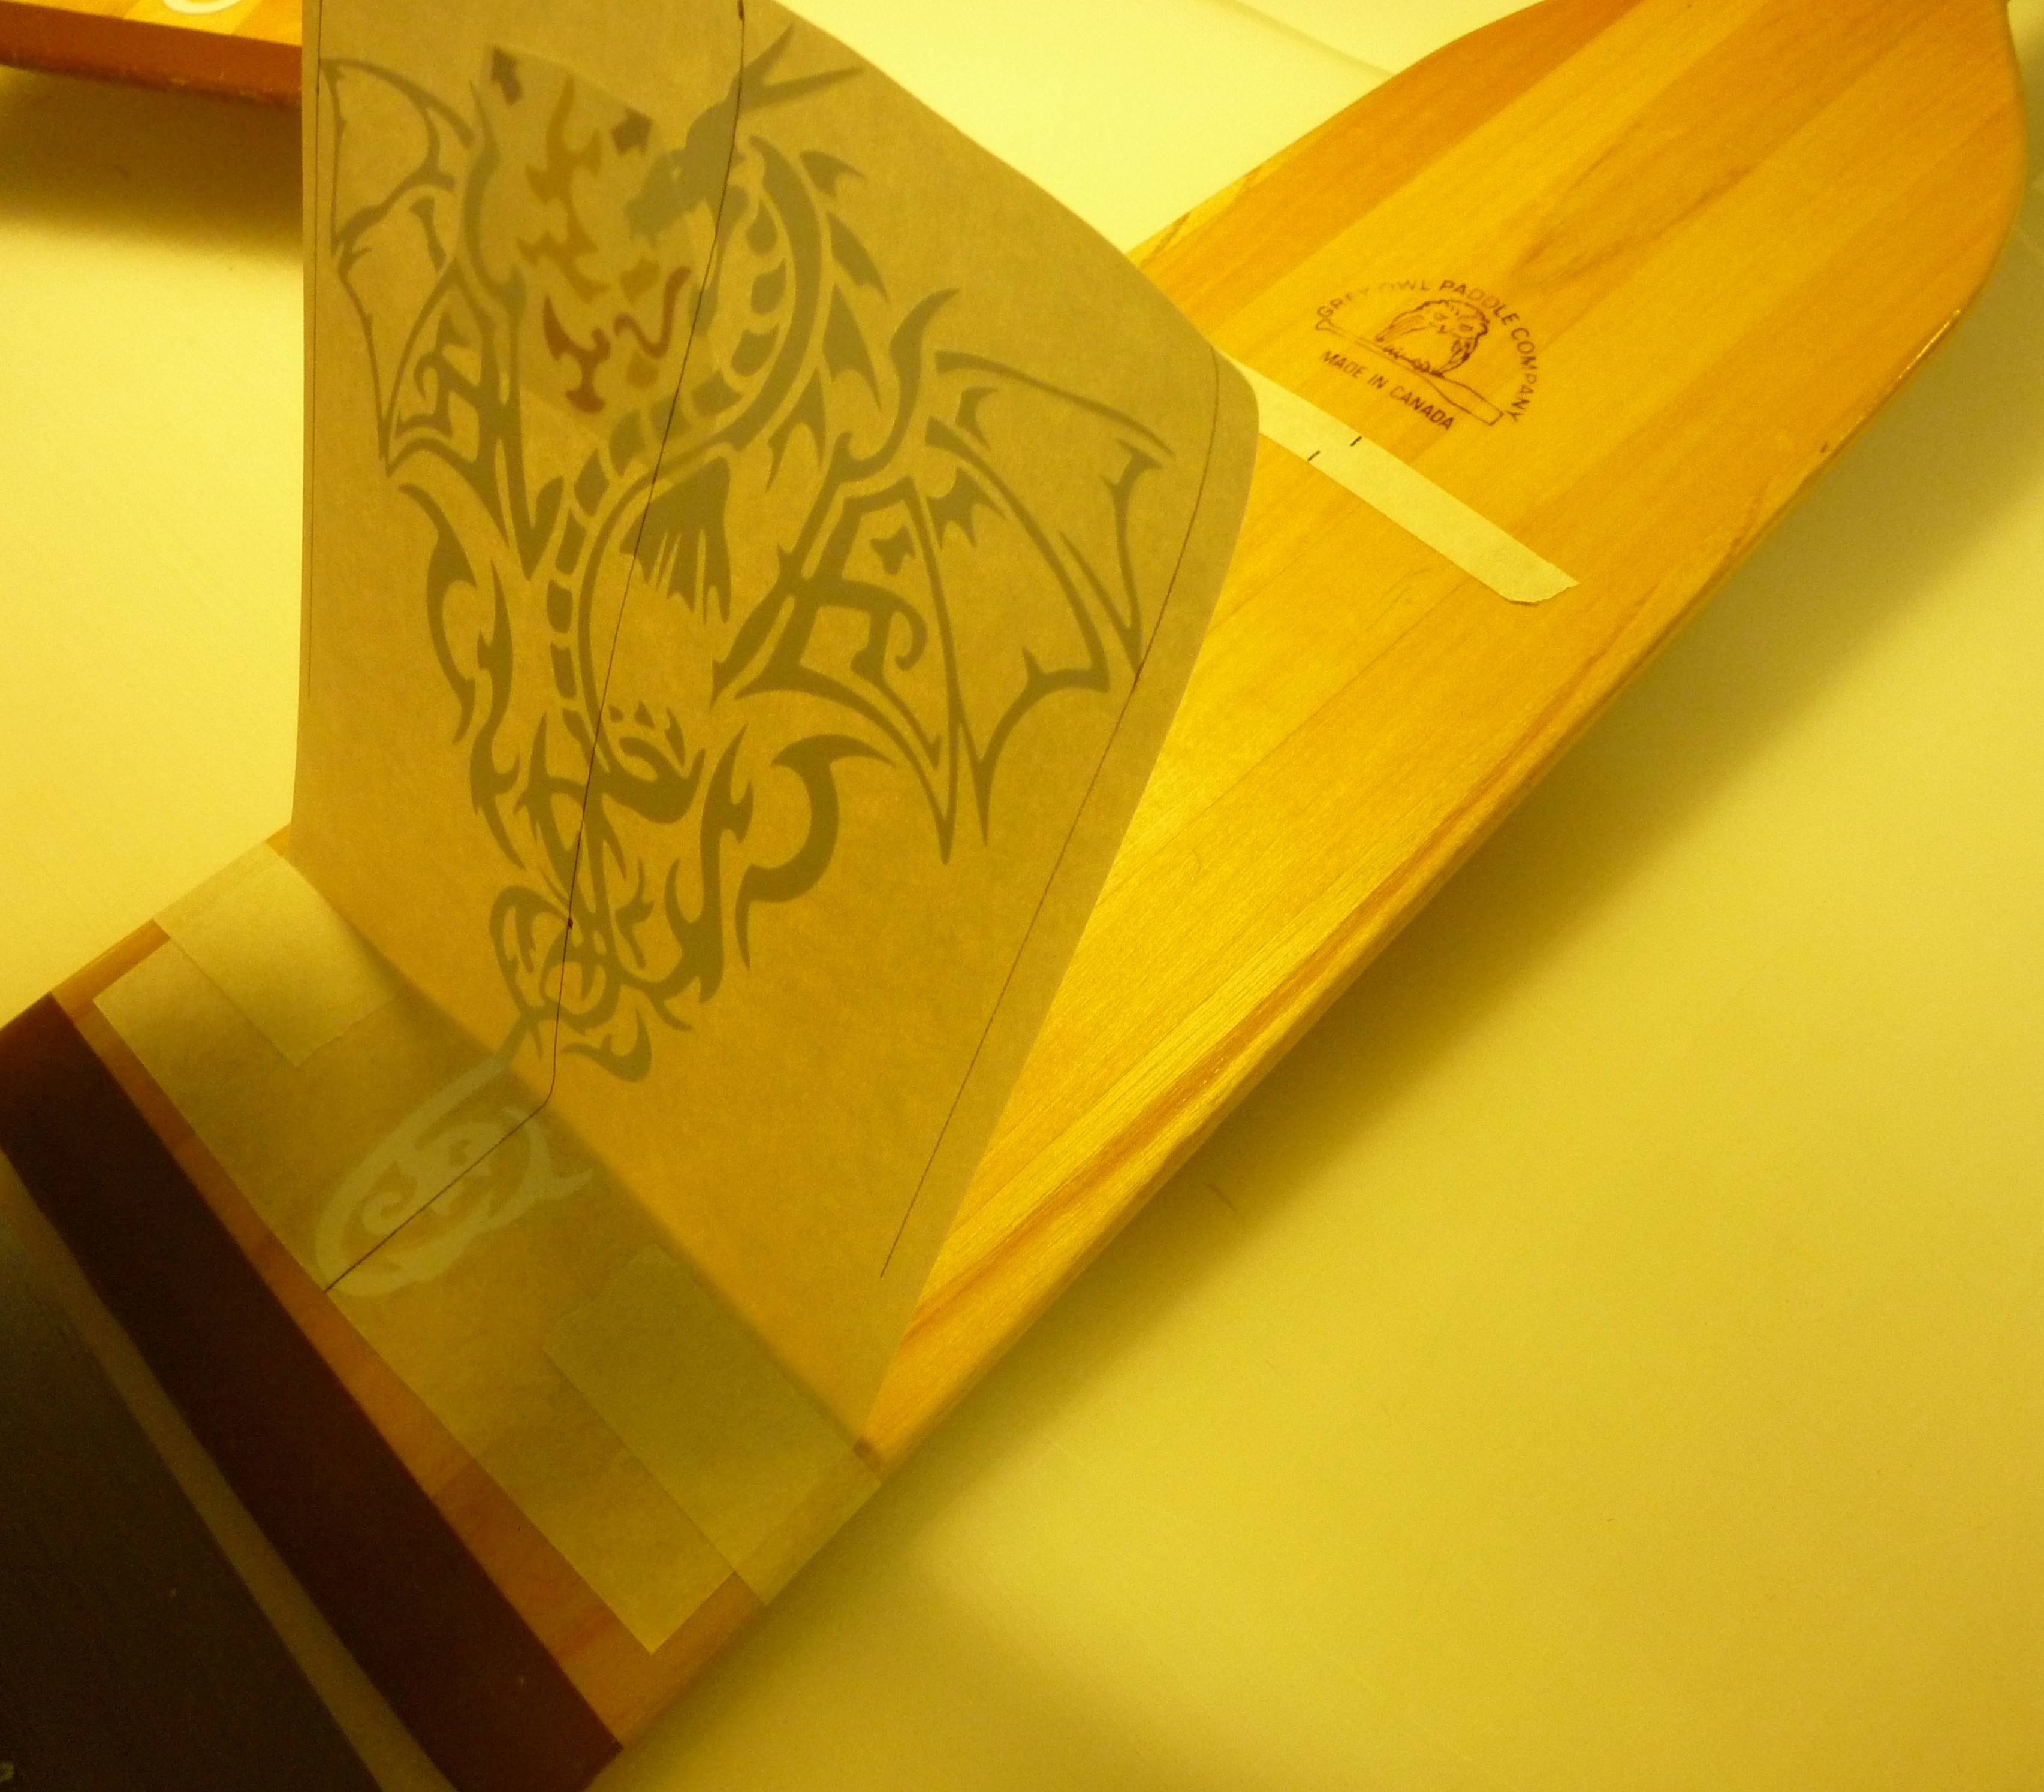
2) Holding the decal where you want it installed, securely tape it to the surface at the midway point either horizontally or vertically. (In this case we opted to a point lower than halfway due to the design of this specific decal). Depending on your decal size you may need to tape the decal at the corners or use 2 pieces of tape at the center. The center pieces of tape will become your hinge point.
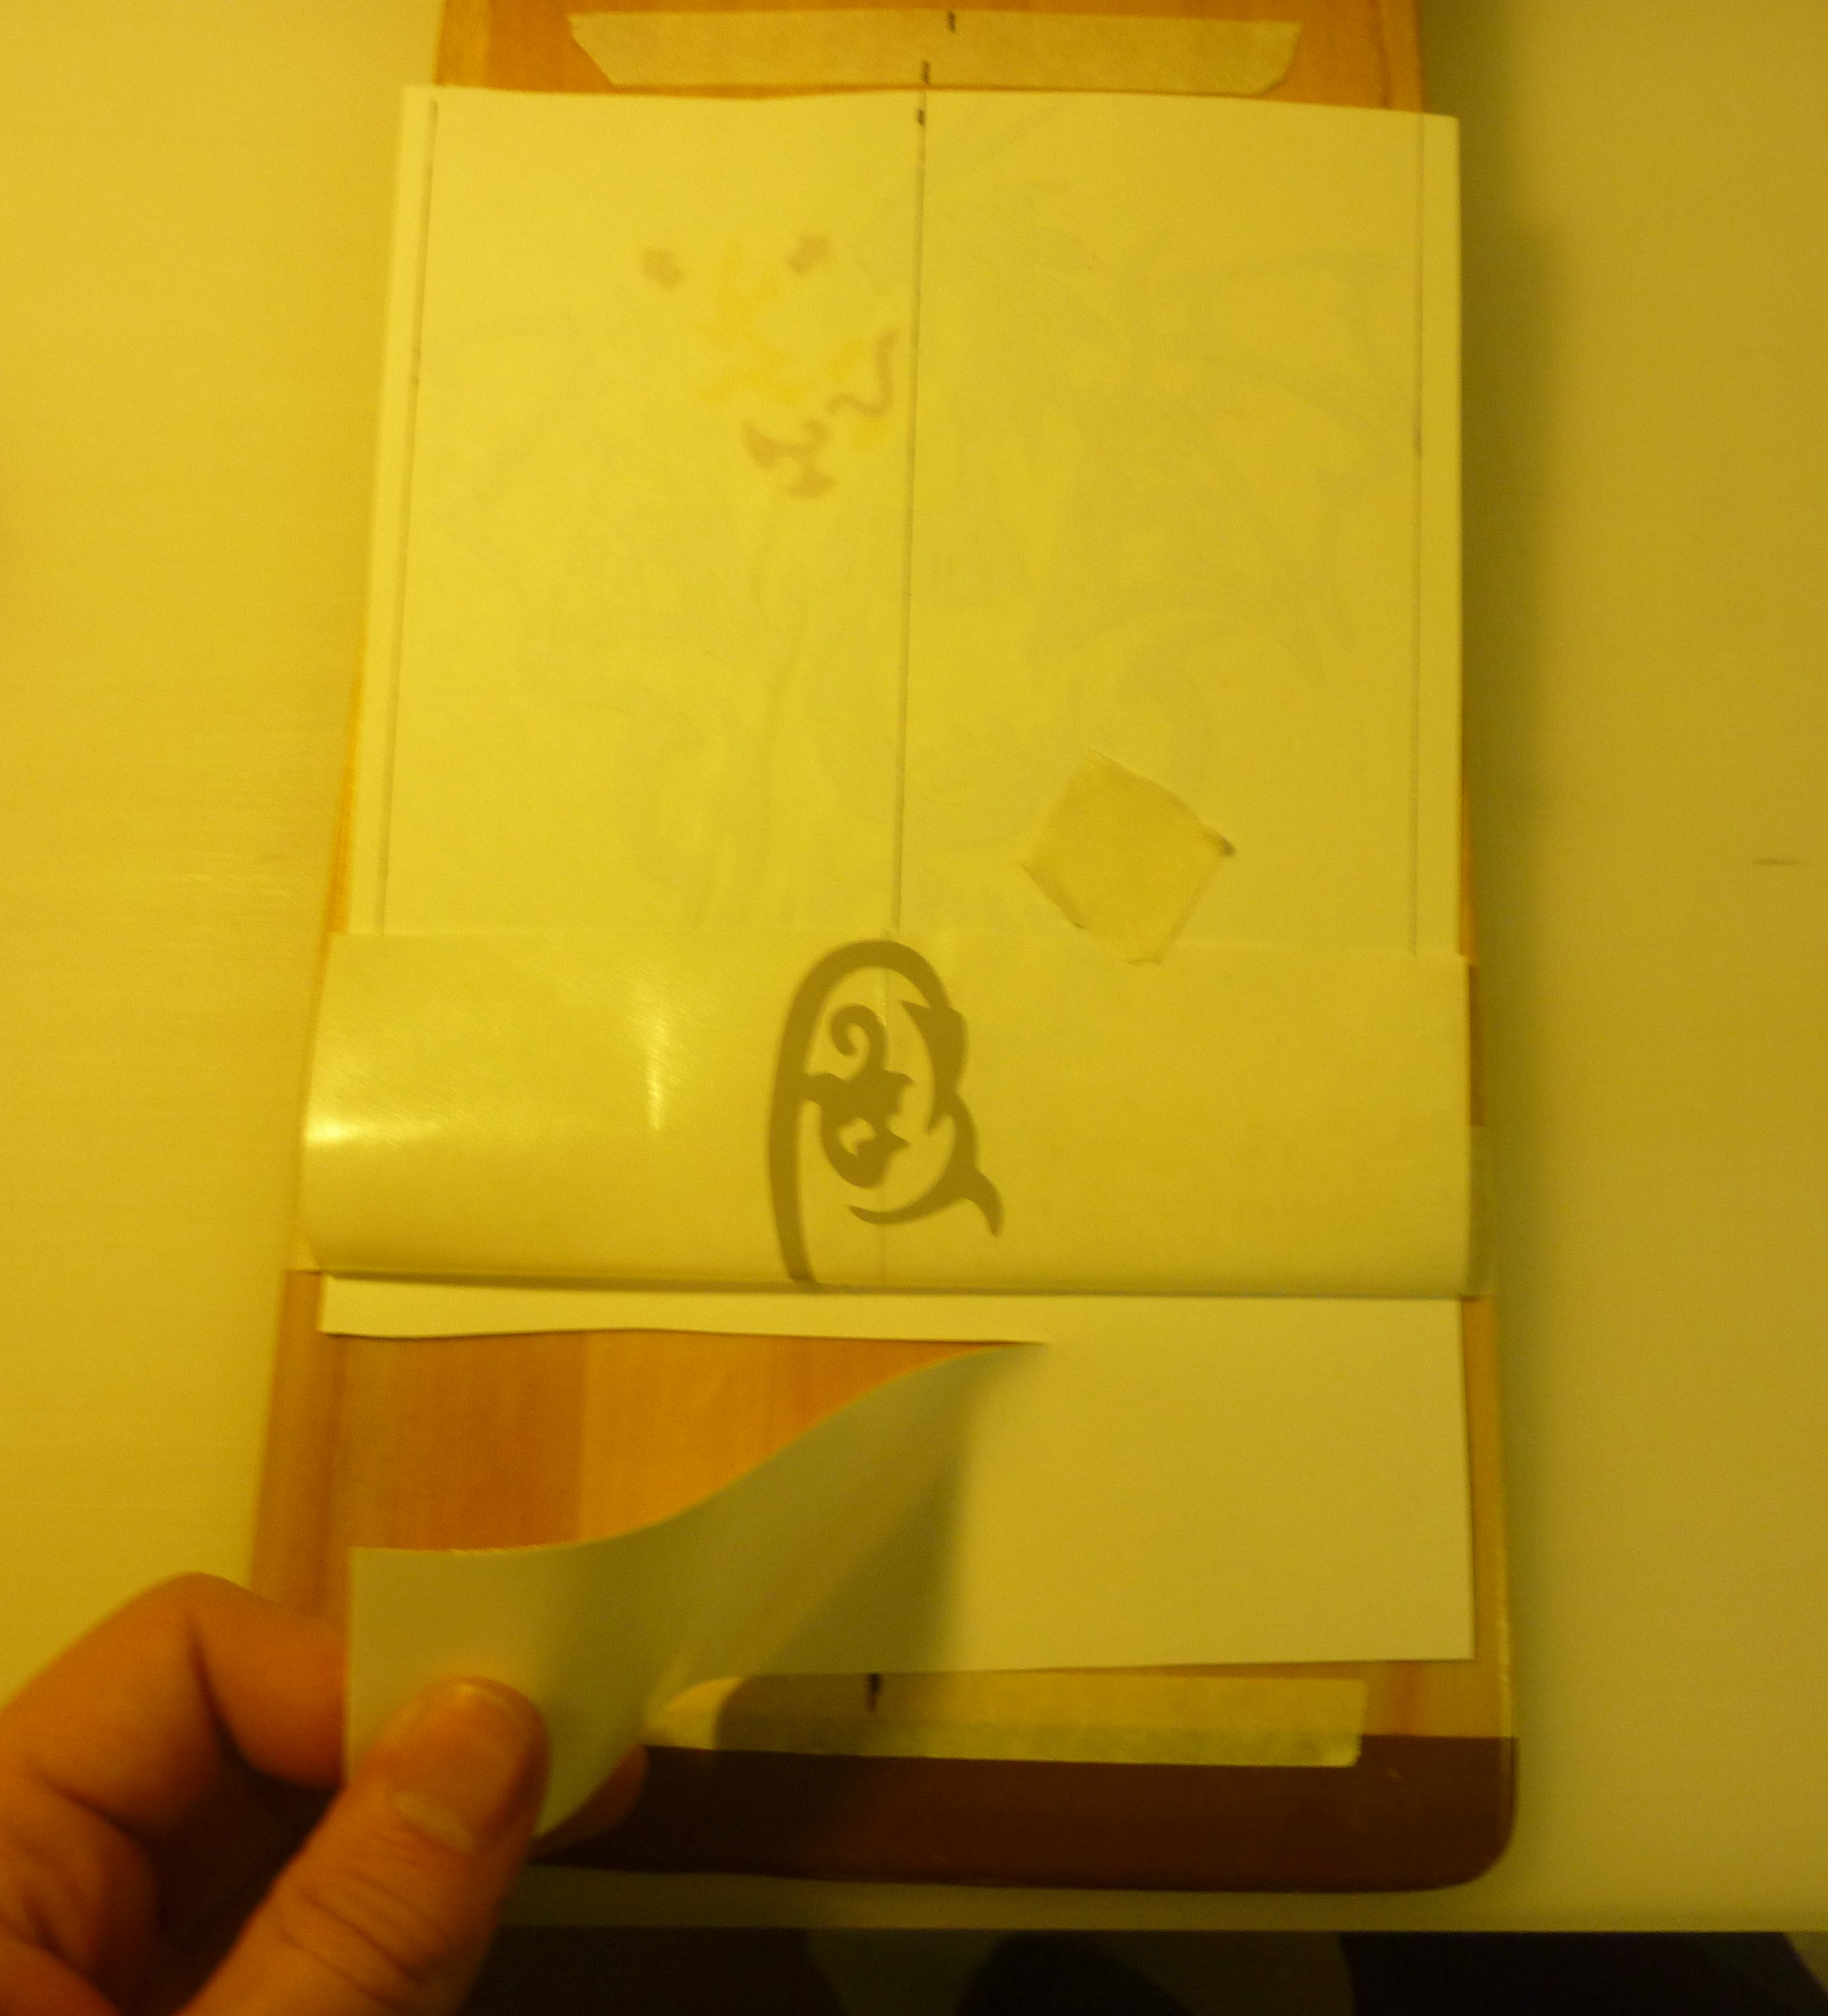
3) From the bottom (or top) corner of the decal, gently peel the transfer tape & decal away from the wax backing paper. Peel decal at an angle greater than 160° until you reach the hinge point. Using your knife, gently cut the wax backing paper along the hinge point. Remove but save this piece wax paper.
4) If you are using an application fluid, at this time lightly spray the first half of the surface where the decal is to be installed.
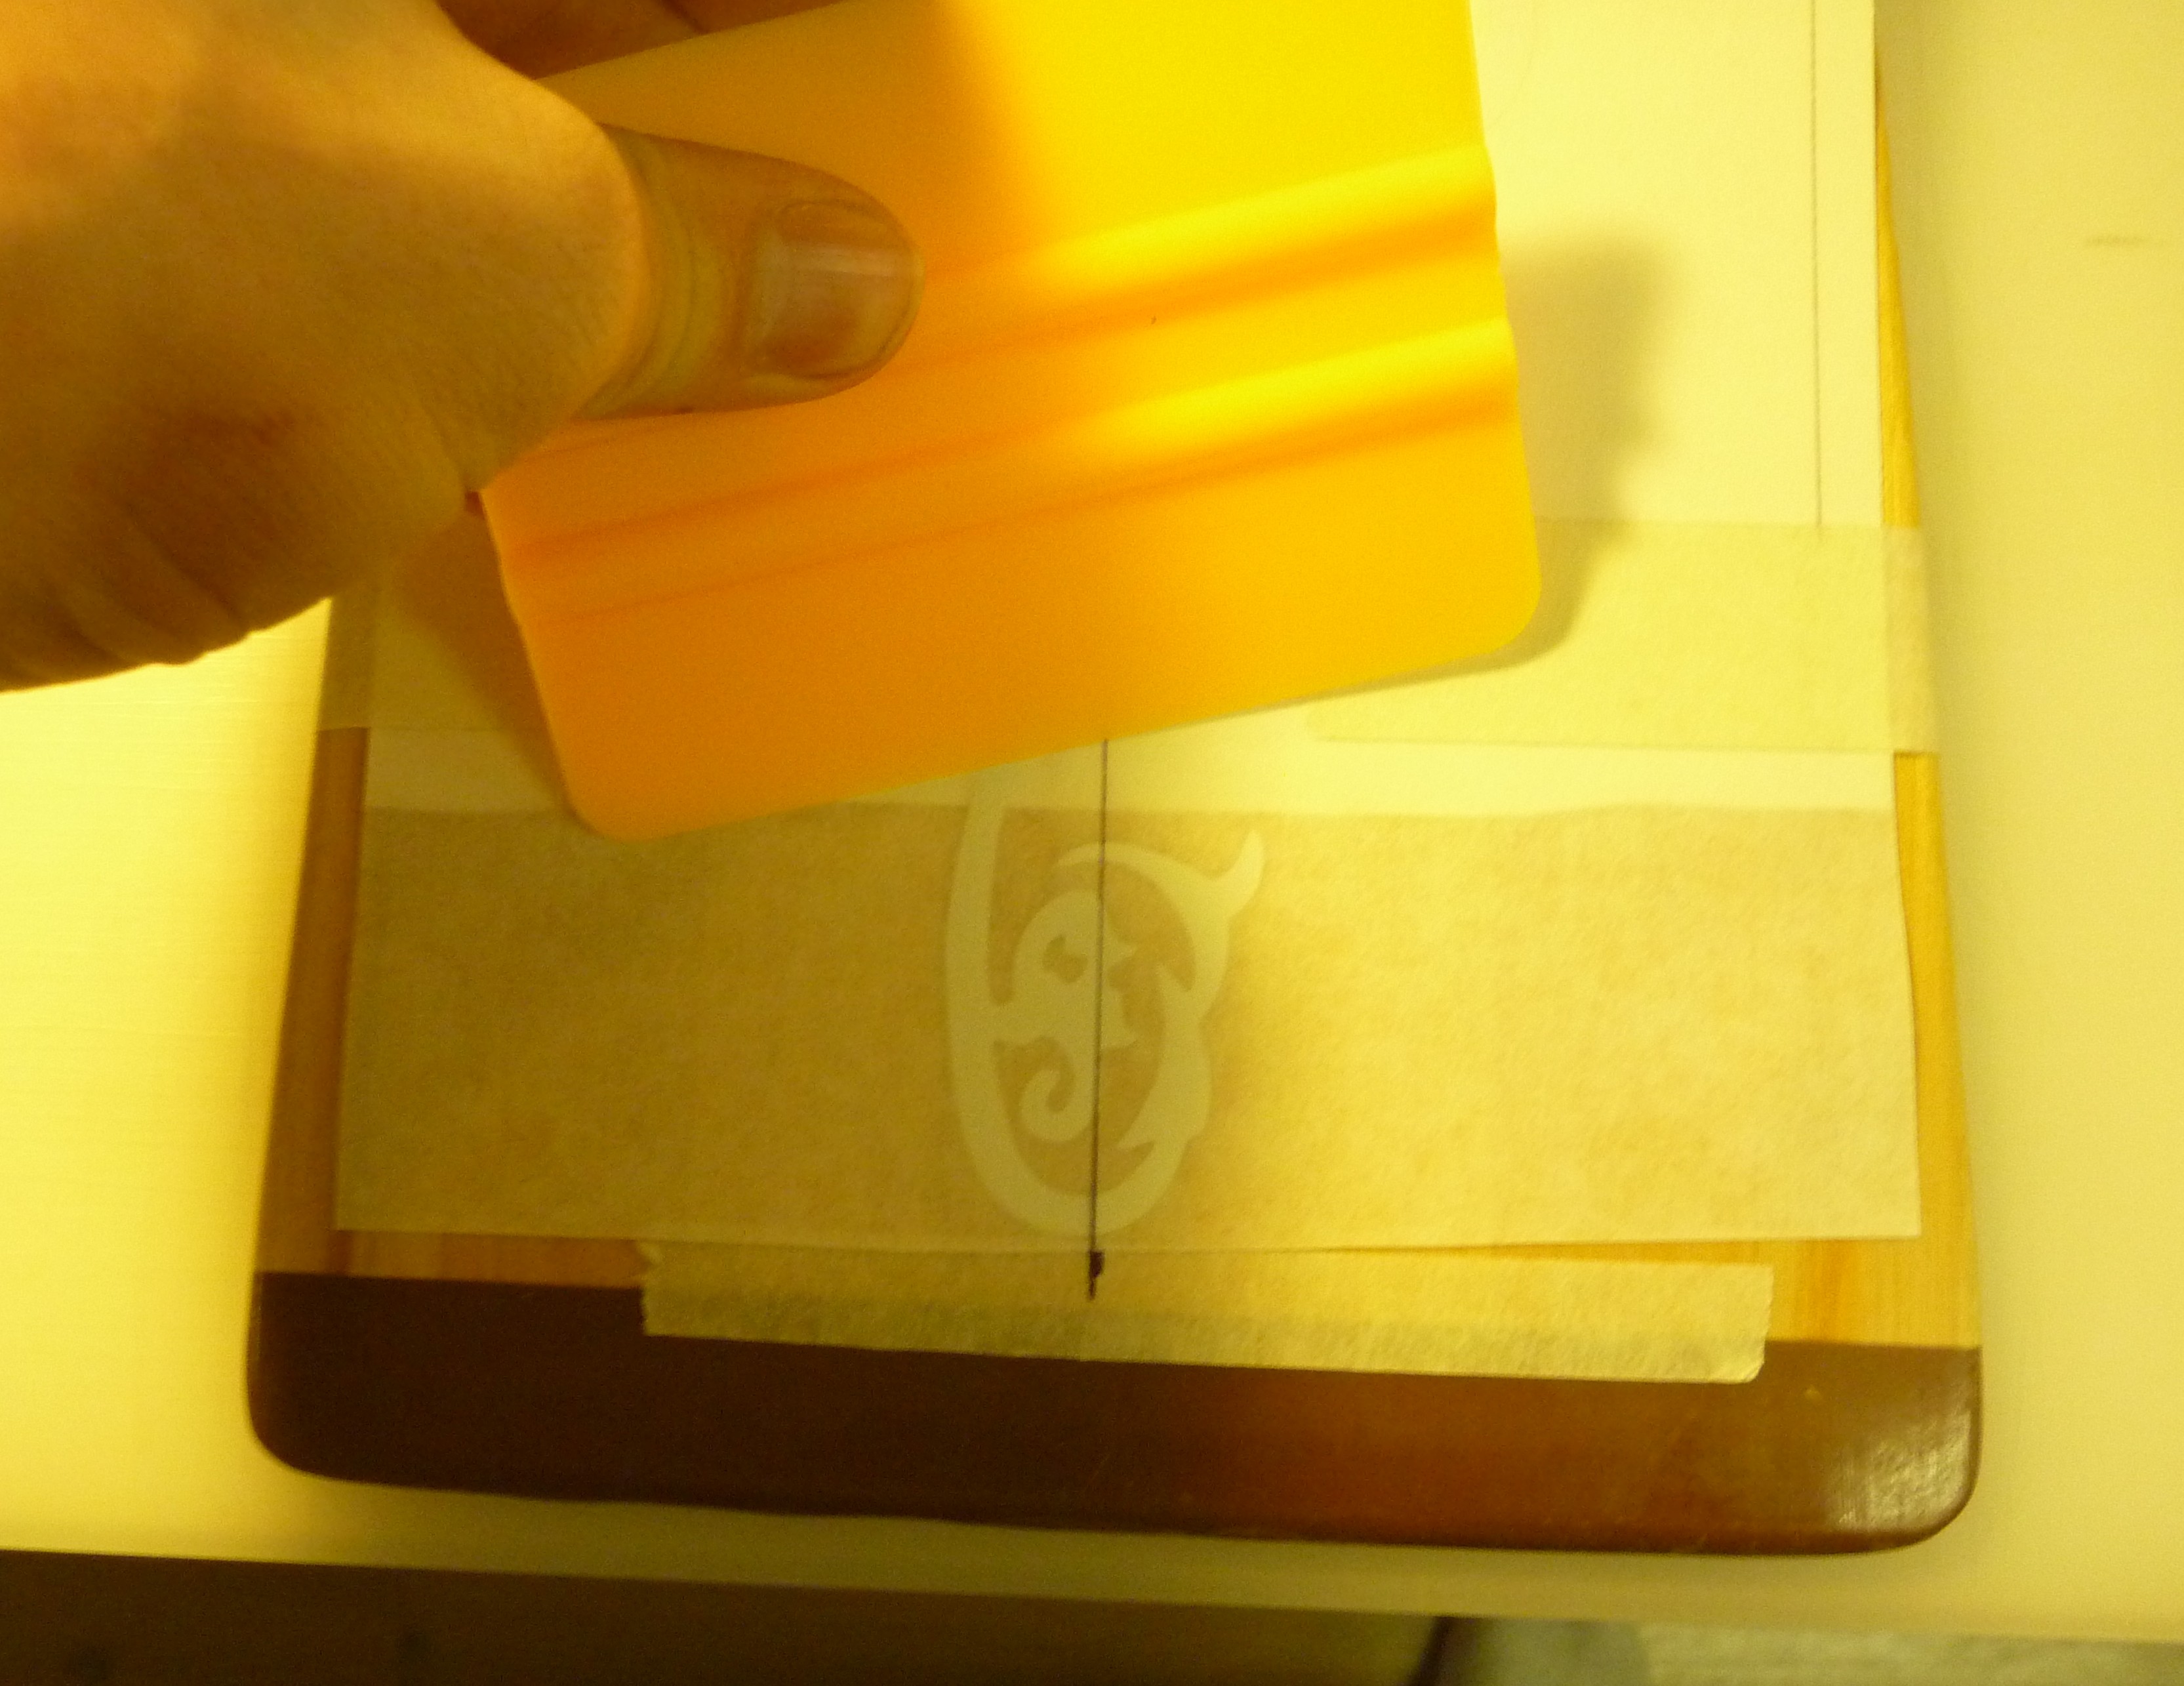
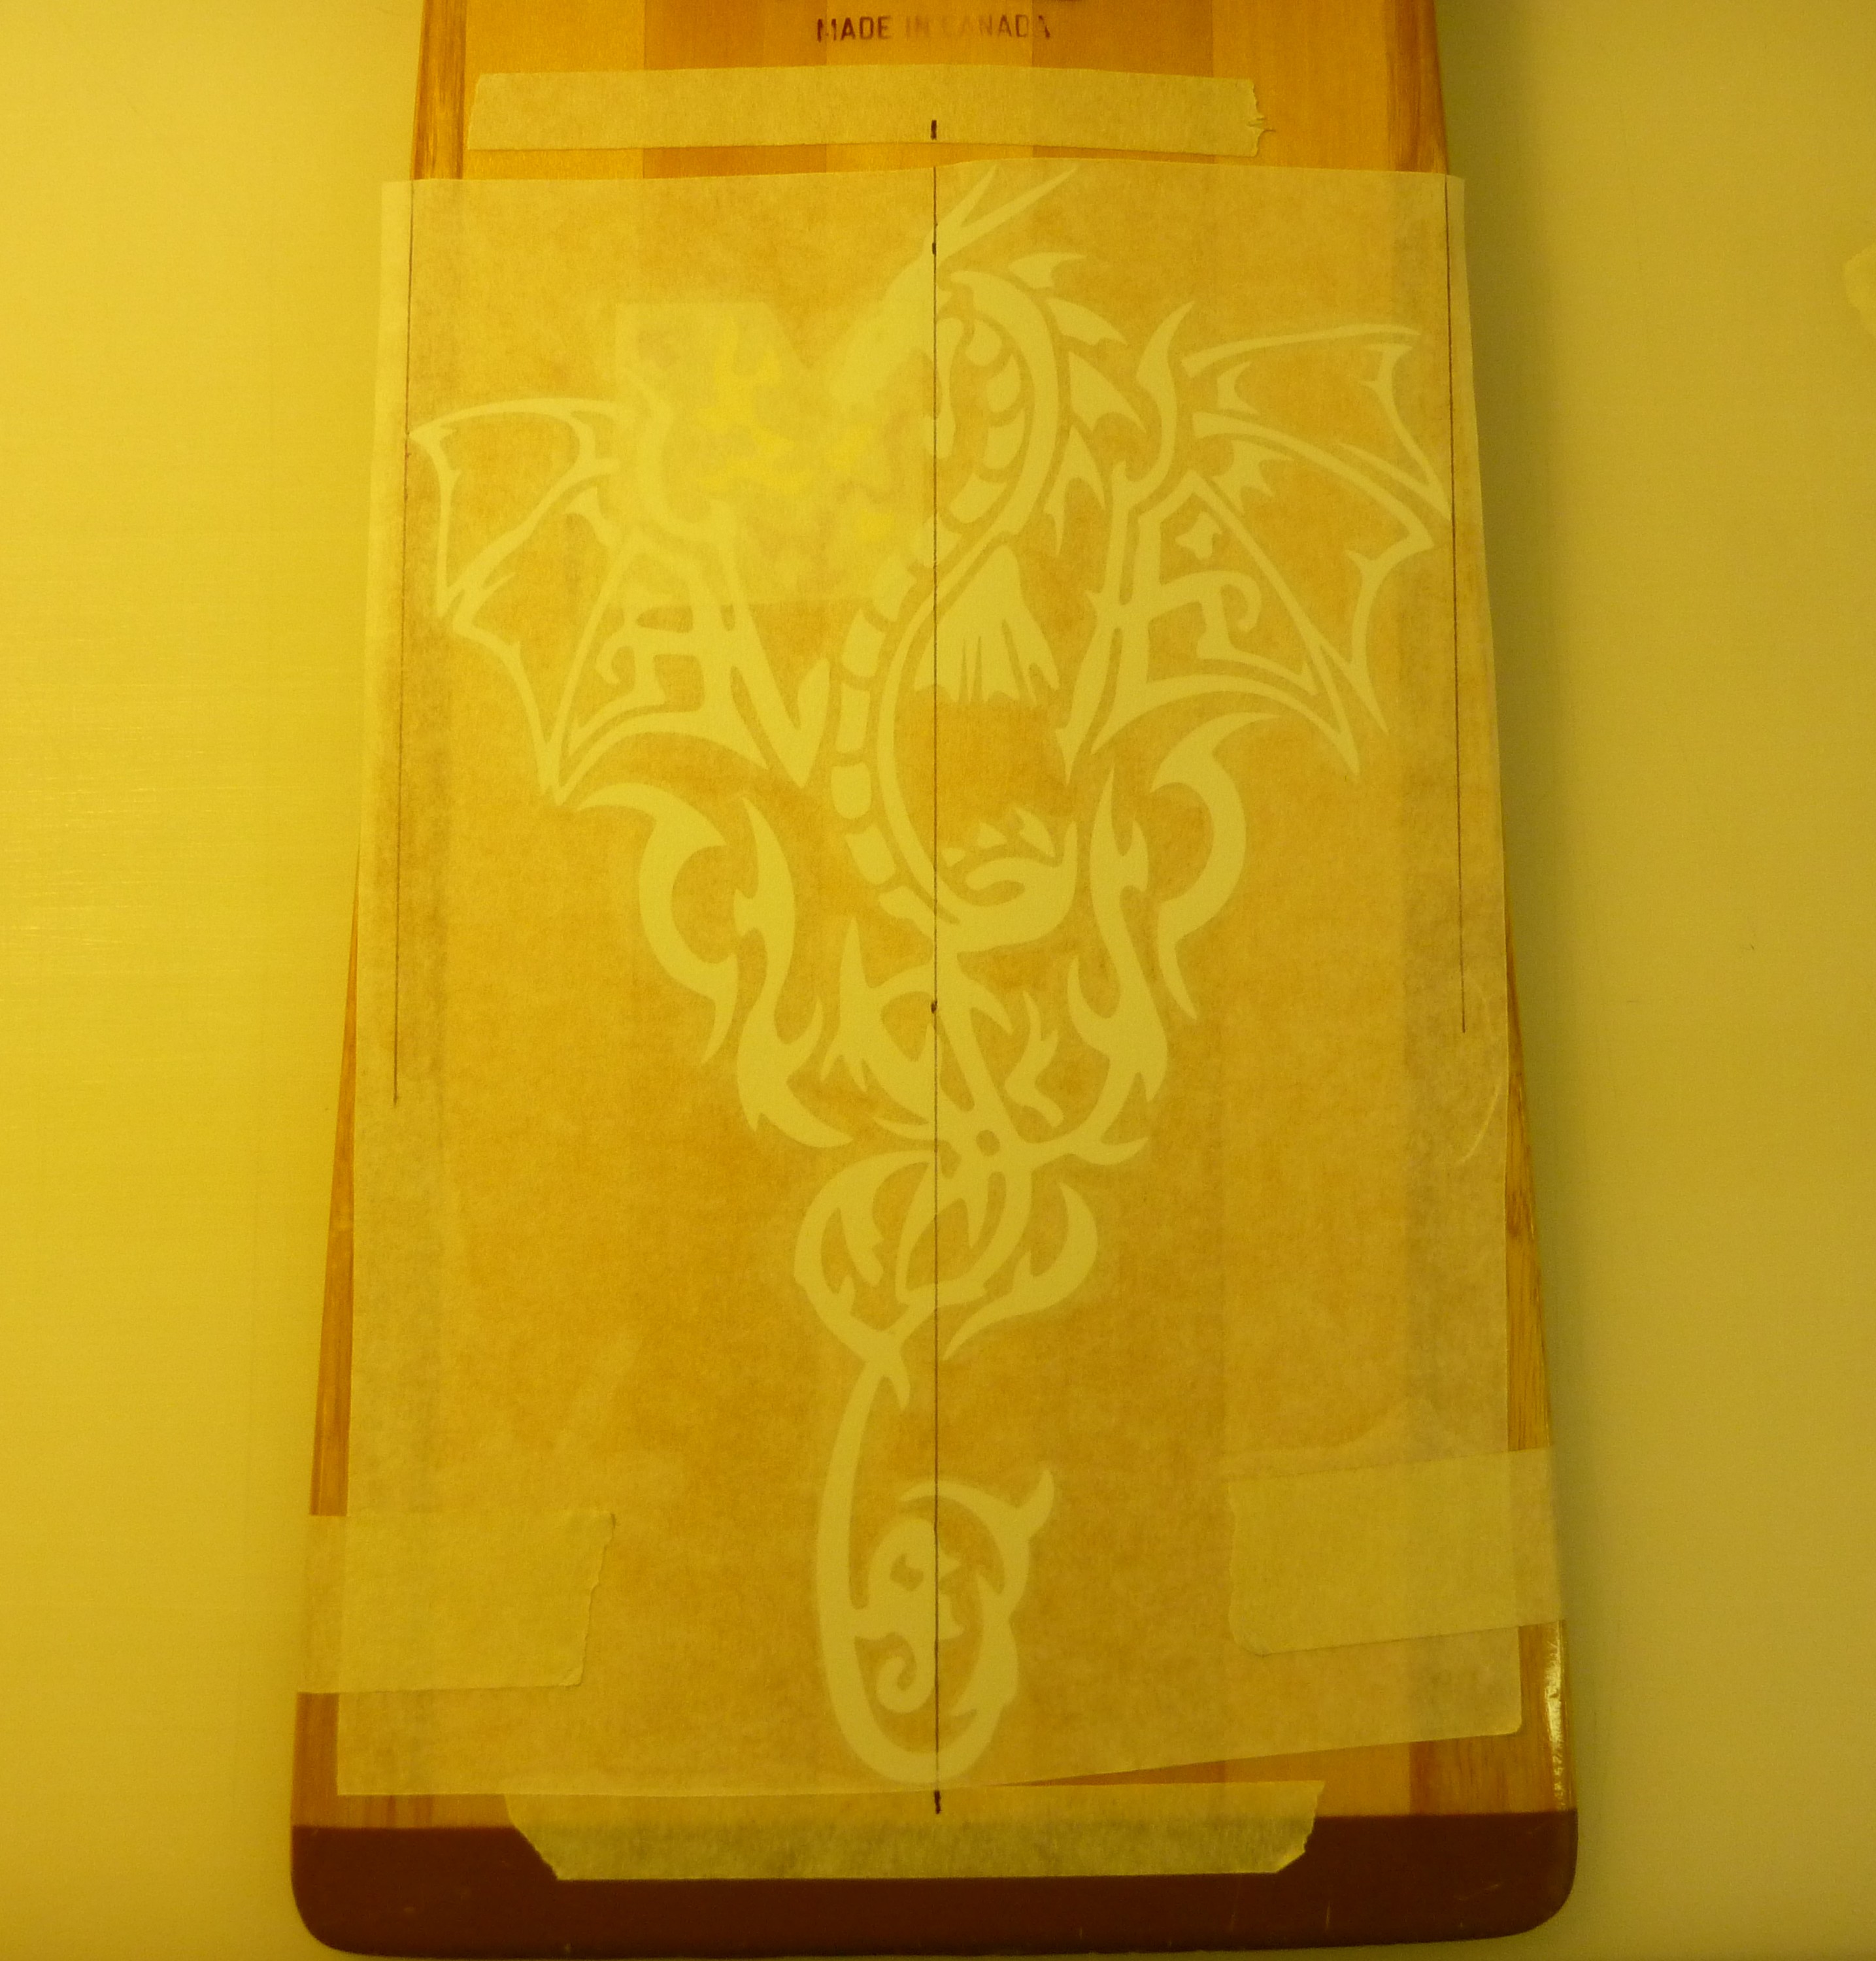
5) While keeping the decal taught with one hand, gently use the squeegee to press the decal to the surface. Start at the hing point and work your way towards the outer edges.
6) Repeat steps 3-5 for the other half of the decal.
7) Using the squeegee, starting from the middle of the decal towards the outside, remove any remaining liquid, air bubbles or wrinkles.
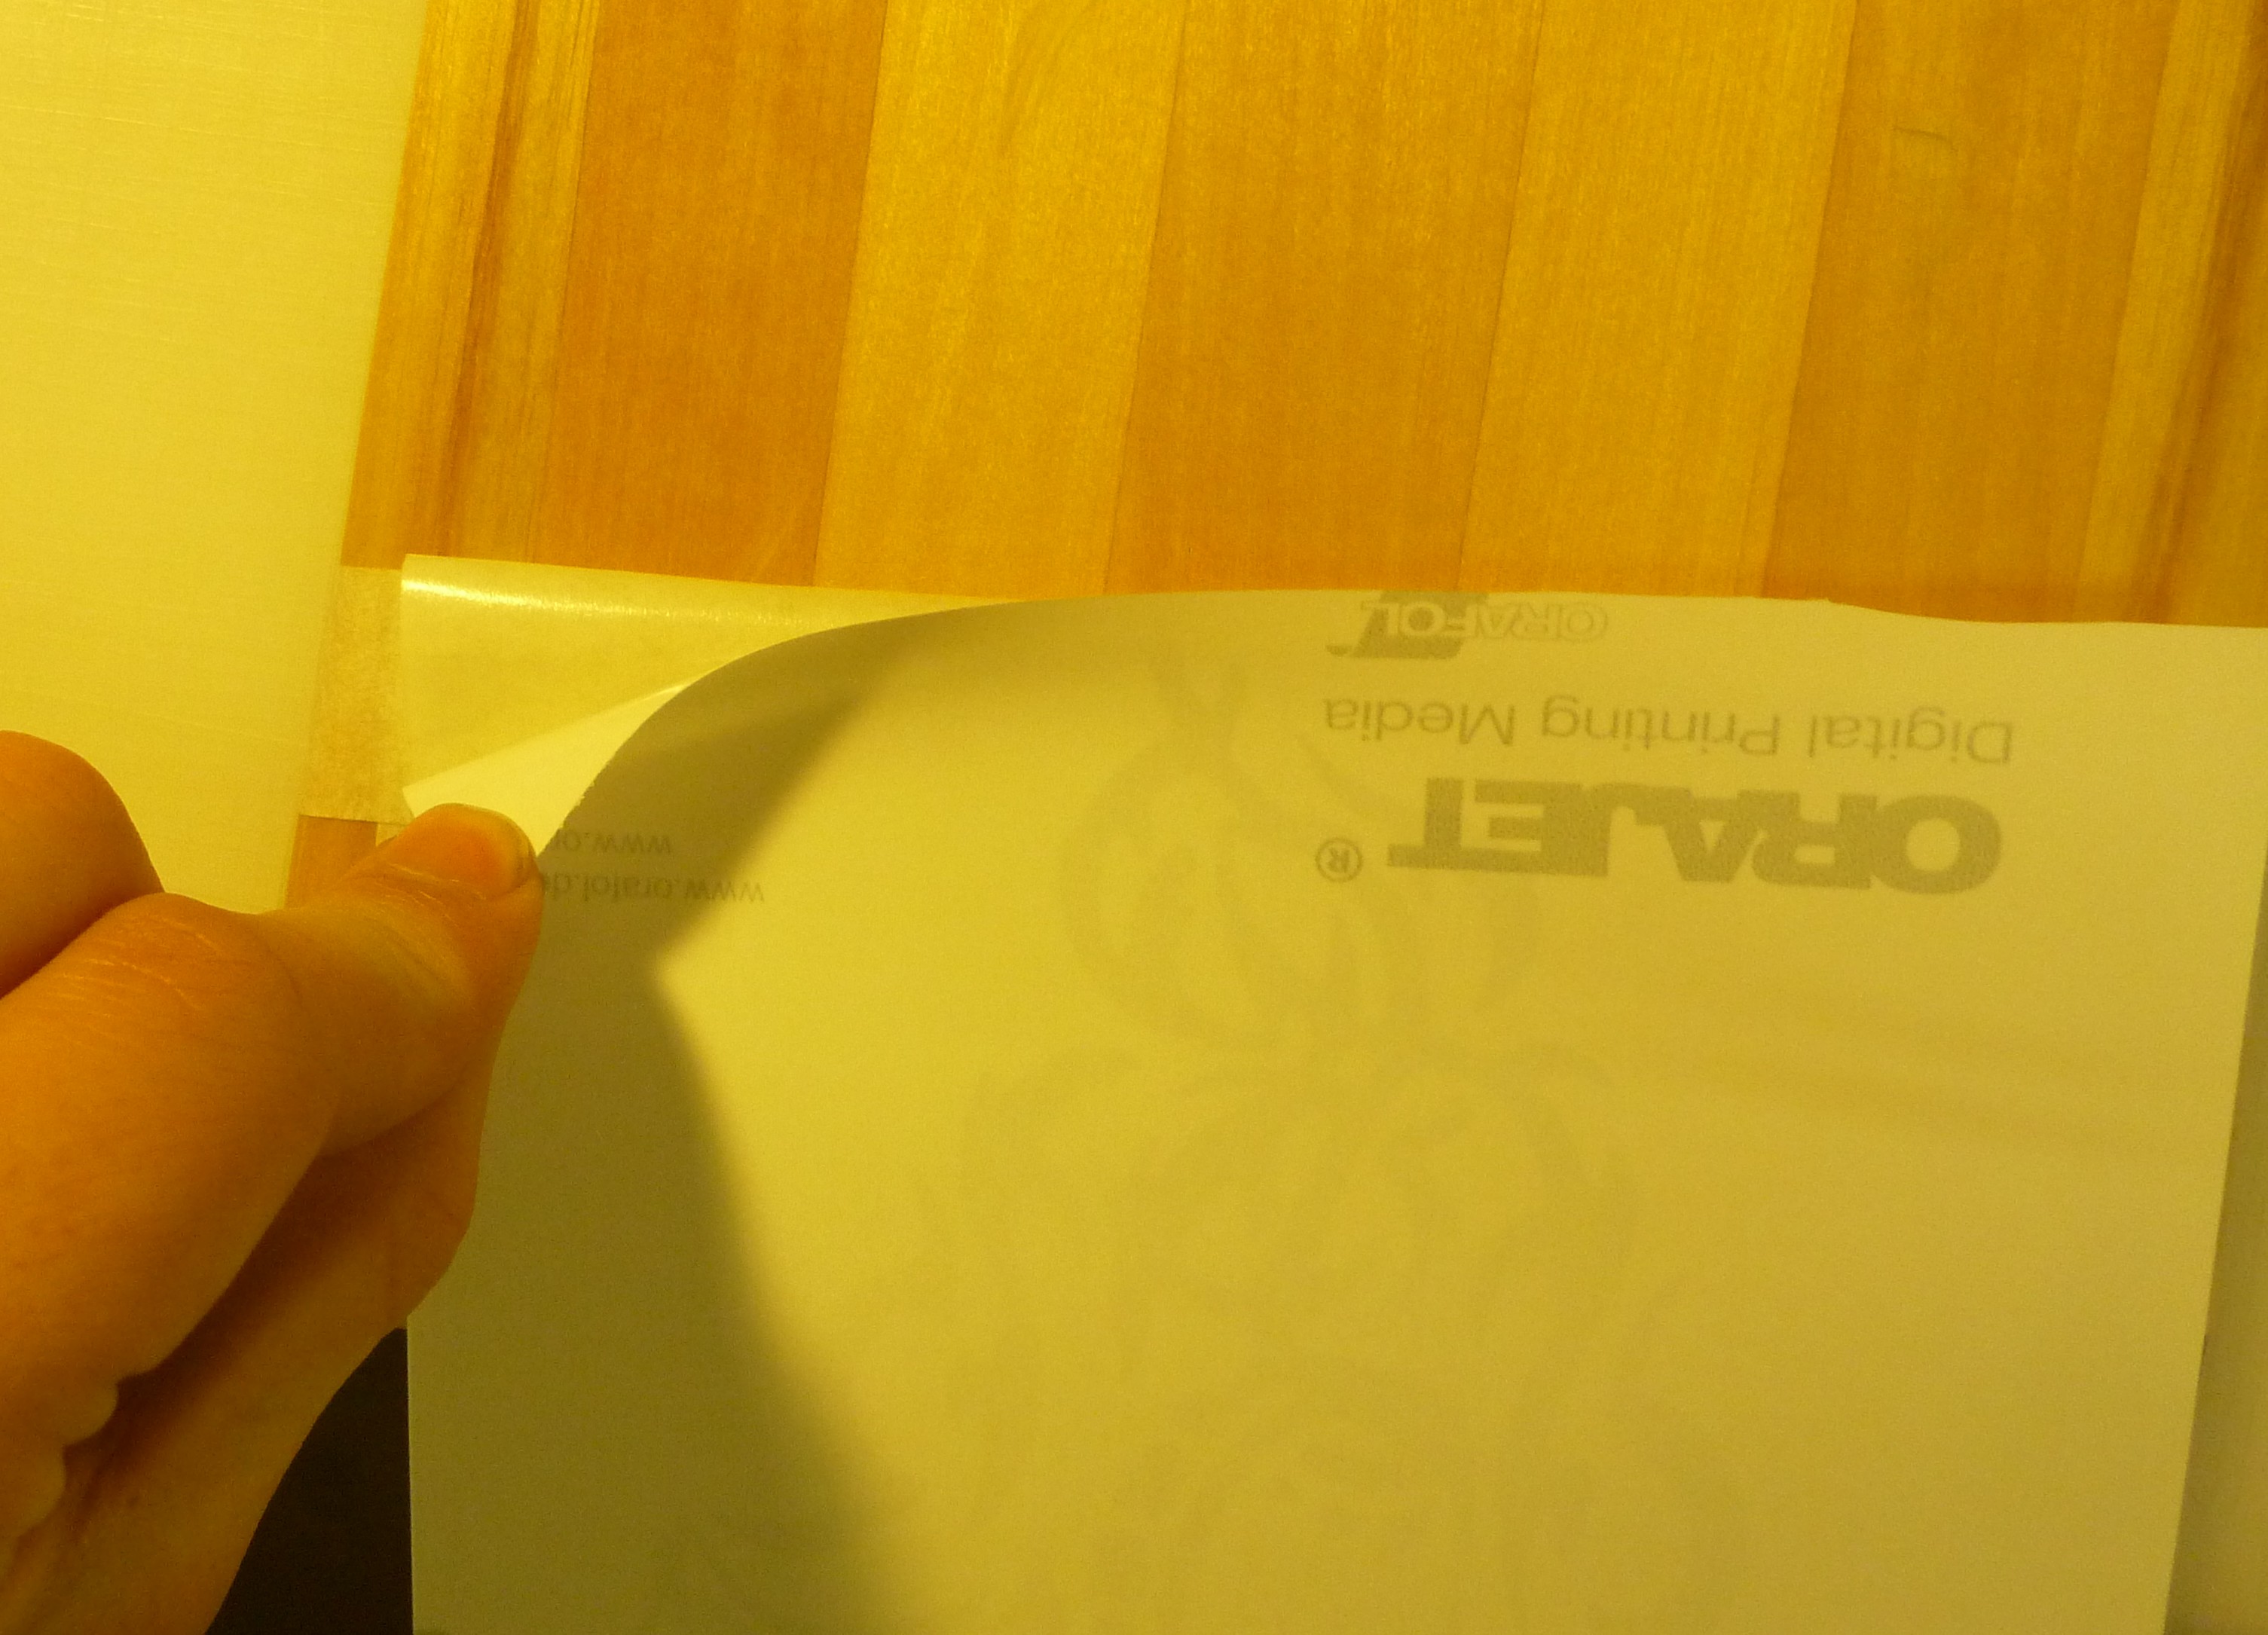
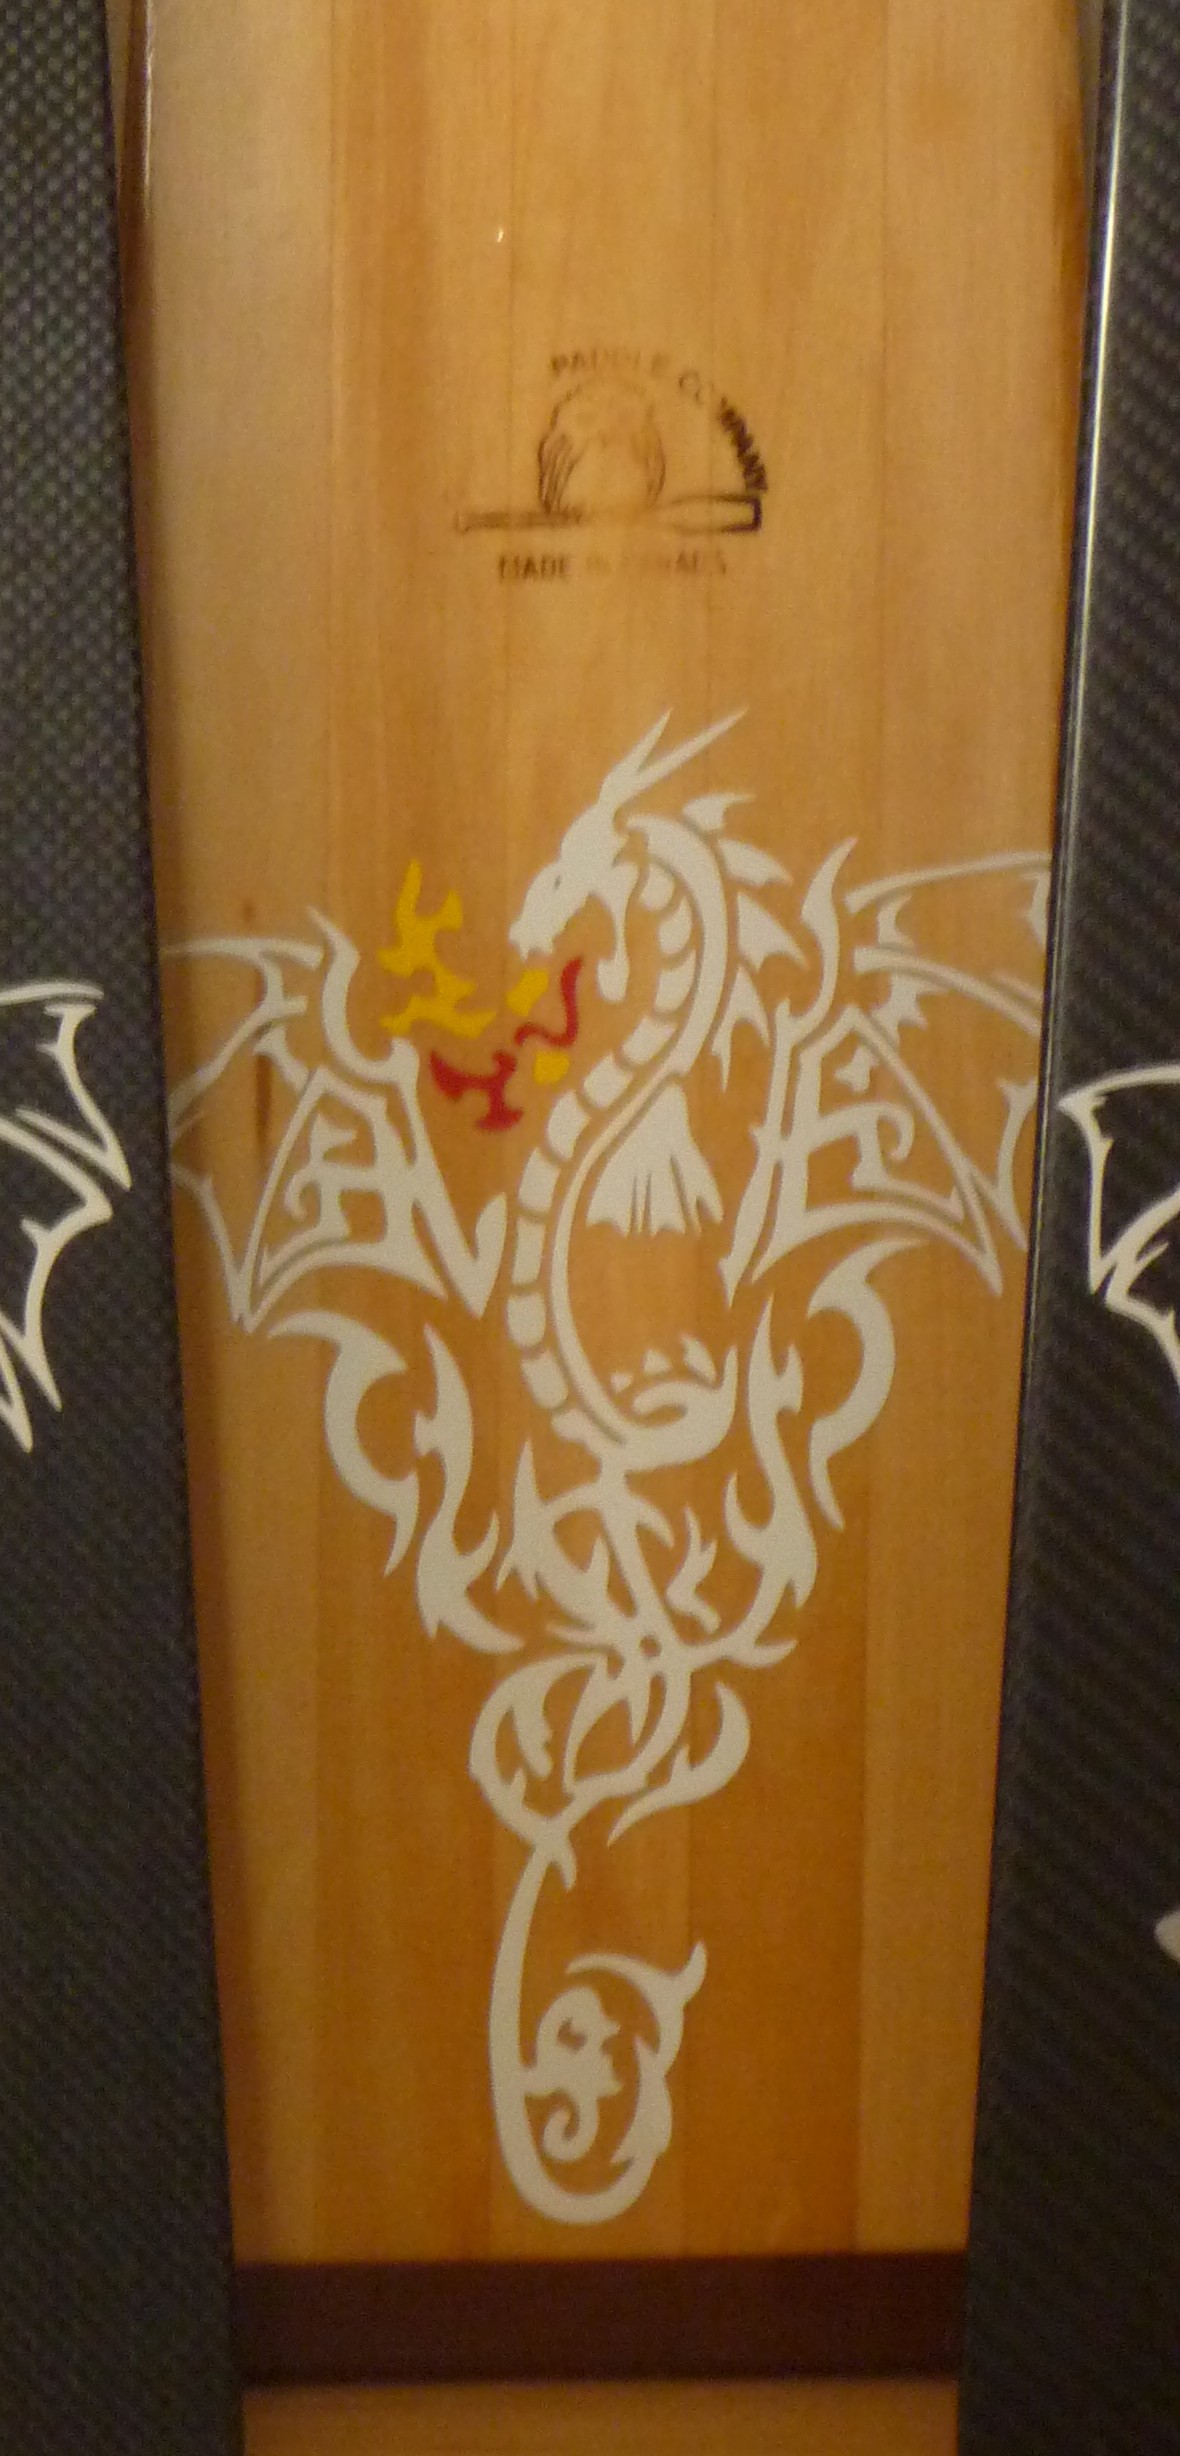
8) Starting at the corner, peel the top layer masking tape away from the surface, again it is best to do this at an angle greater than 160°. If any vinyl does not stick to the surface gently place it back down with the masking and press it in a bit more.
9) If you notice any air bubbles or wrinkles use the wax paper (saved from earlier) lay it on top of the decal and use the squeegee to press bubbles & wrinkles out. The wax paper prevents your decal from being scratched. If air bubbles remain you may use a small pin to pop them and press the affected area to the surface.